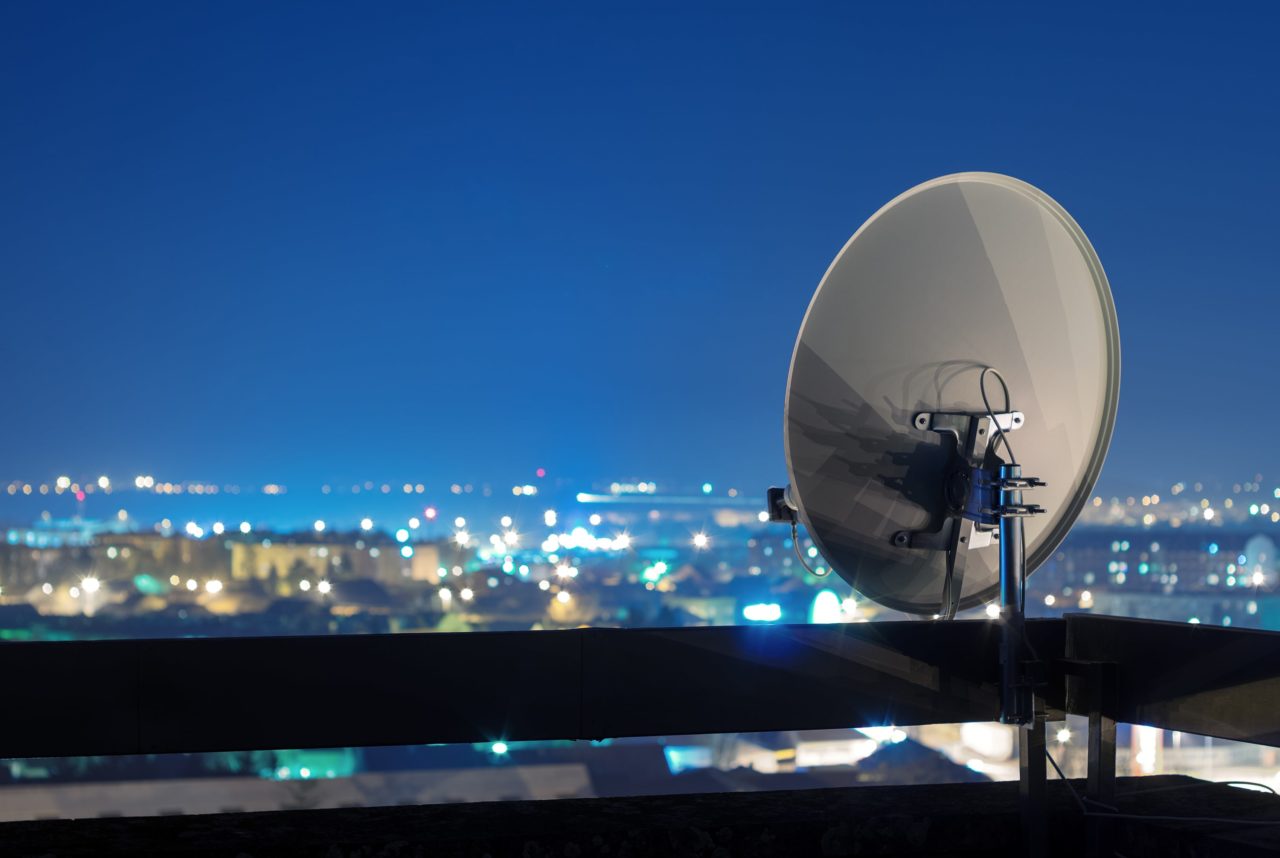
When signing up to a satellite TV service, you’ll usually be able to hire an engineer to install the dish for you. However, you do have the option of installing the dish yourself. If you’re DIY savvy, this could save you money and allows you to place it exactly where you want it on your roof.
Most people who install satellite dishes have regular tile roofs. But what about if you have a metal roof? Can you still put a satellite dish on a metal roof? This post explains everything you need to know about mounting a satellite dish on a metal roof.
Can you mount a satellite dish to a metal roof?
You can mount a satellite dish on practically any roofing surface. This includes a metal roof.
To install a satellite dish on a metal roof, you will need to consider the shape of the roof. Most metal roofs are corrugated and you will need to make sure that the dish is mounted evenly across the ridges. Make sure that the roof is in good condition before adding a satellite dish.
Mounting the dish typically requires first fitting clamps onto the metal roof. Aluminum angles are then placed on top of the clamps to provide extra support. The base of the satellite dish is then bolted on through the aluminum angles and clamps.
You should never bolt the base of a satellite dish directly to the roof. The dish is unlikely to remain sturdy as metal roofs are designed to allow some movement.
Some people worry that their metal roof will be damaged by mounting a satellite dish onto it. While there is always a risk that drilling holes will lead to leaks and rust, this will usually not be the case if you mount it carefully. If you want to be extra careful, consider installing the dish on a wall instead of a roof.
What will you need?
To install a satellite dish on a metal roof, you will need:
- 4 metal clamps
- 2 pieces of aluminum angle
- Bolts, nuts and washers
- A screw gun
- A drill/drill bits
- Tape measure
- Permanent marker
When it comes to choosing metal roof clamps, there are a few options. S-5 clamps are the most popular option and are worth looking into.
How to mount a satellite dish to a metal roof (a step-by-step guide)
Step 1
Find out the size of your dish’s base and then work out where to place it on your roof. The four corners should evenly sit on ridges. Mark where to place your clamps using a permanent market – the clamps should sit beneath each corner of your dish’s base. Use the base of the satellite dish to guide you as to where to put each clamp
Step 2
Grab your four metal clamps. Secure each of the clamps to the roof using the four markings that you measured out to guide you. Make sure that each clamp is oriented in the same direction.
Step 3
Mark out where to place drill holes in your clamps. Use your aluminum angles to help guide you as to where to put the drill holes. Your satellite dish eventually be bolted onto the clamps via these holes.
Step 4
Drill holes in your aluminum angles. The aluminum angles will sit on top of the clamps and under the satellite dish base to offer added support. Make sure that the holes in your angles line up with the marked holes in your clamps.
Step 5
Test-fit your satellite dish. At this stage, you may want to loosely screw the angles to the clamps so they sit in the place. The base of the satellite dish should sit snugly between the aluminum angles with the clamps sitting evenly beneath all four corners. Mark where to place holes in the satellite dish base – these should align with the holes in your aluminum angles and the holes in your clamps.
Step 6
If everything aligns perfectly, you can then begin the process of attaching the base of your satellite dish. This should be attached using secure bolts. Use a drill to screw in the bolts tightly or use a wrench to tighten by hand if you prefer. Be careful not to over-tighten the bolts as this may cause damage to the base, angles or clamps.
Step 7
Once the satellite dish base is bolted in, make sure that any other parts of the satellite dish are attached. Then voila! Your satellite dish has been successfully mounted.

