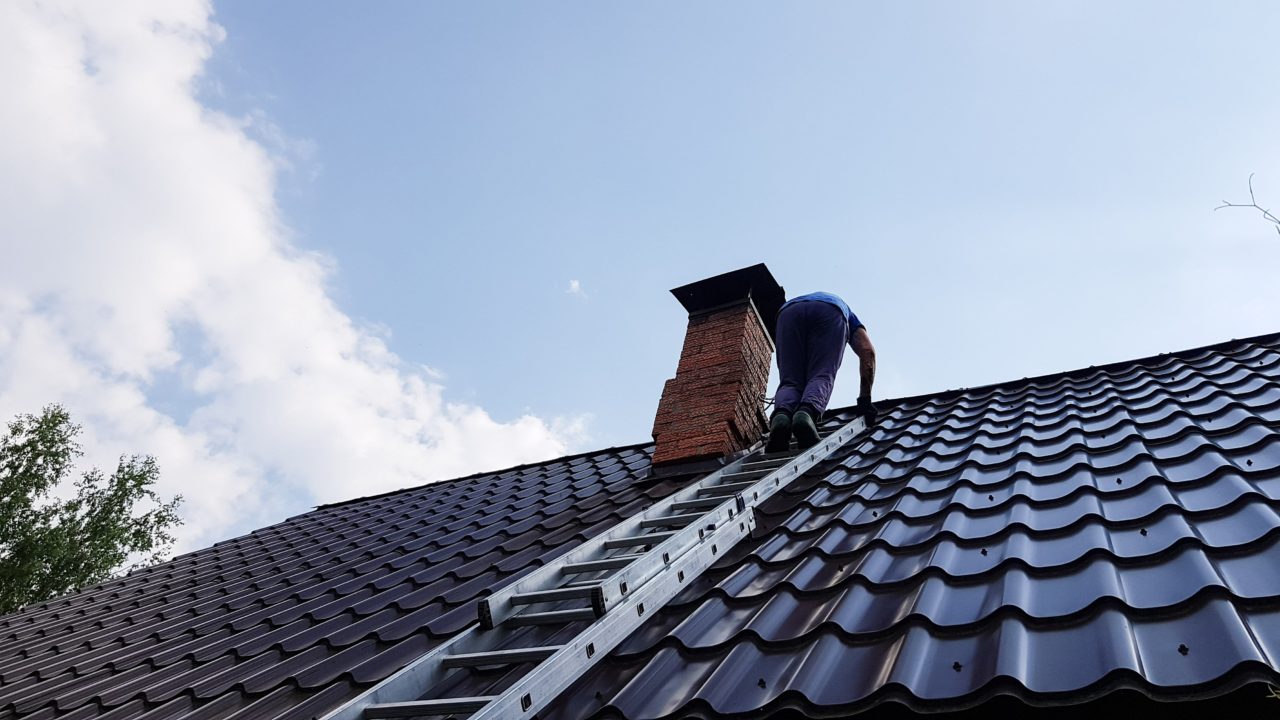
Climbing a 45-degree roof requires equipment, confidence, and experience, but you don’t have to be a professional climber. That said, you will require some professional knowledge and experience to ensure the safety and success of your roofing climb. Follow the eight steps below.
What you Need
If you want to climb a 45-degree roof, there are certain pieces of equipment you need to ascend and descend safely; these include gloves, sturdy shoes, rope, carabiners, a climbing harness, and an anchor trolley system. If you don’t have these important items, it can compromise the safety of the climb. Set yourself up for success by visiting a local warehouse and stocking up.
The Eight Steps
Step One: Fixed Gear
A 45-degree roof is hazardous even in dry conditions, so you need to secure fixed equipment before attempting the climb. Attach your anchors to the roof using a minimum of ¾ inch solid material to secure it. Also, make sure the anchors are rated for their pound value to support your weight as you climb. Avoid climbing if you notice the anchors are loose or unsupported.
Step Two: Fall Hazards
Naturally, good footing is an important aspect of the climb. Make sure you are wearing shoes or boots with a suitable sole – a grippy rubber sole or something similar. Remember, you will ascend or descend the roof at a 45-degree angle with your feet around waist height; this makes it dangerous when leaning towards the roof to remove shingles. Always stand on solid material.
Step Three: Roof Pitch
A 45-degree roof pitch is steep and not recommended for beginners. If you don’t have much experience climbing sloped roofs gaining experience is the best place to start. Begin with lower gradients like 20 and 30-degree slopes to get the feel for the angle and the type of issues that come up when you are climbing; when you feel more confident, attempt the 45-degree pitch.
Step Four: Hands and Feet
When you are working at an angle, the position of your body is important. Not only do you need to stand in the way that prevents slippage and gives you the best chance of avoiding an accident, but the form you use can also support effective climbing. Stand with your feet and hands apart on different parts of the roof. Try to think holistically about the twin movement of hands and feet.
Step Five: Moving
No matter how secure your anchor feels, it’s important to secure your hands and feet on the roof at all times. Throughout the climb, stay conscious of the position and security of your foothold and your handhold; if something feels unsteady, you need to move into a more secure position. If you get halfway up and feel insecure, you need to return to the start or abandon the climb.
Step Six: Solid Grip
Make sure your feet don’t slip out from under you as you climb, to do this, you need to compress the shingles under your feet or ensure that you have a solid handhold. When you make moves on the roof, always look for something solid to grip hold of before letting your weight bear on the anchor or the roof. Again, if you can’t find support move back or down or abandon the climb.
Step Seven: The Holes
As you walk on the shingles of the roof, there is a good chance they will come loose, leaving gaps and holes. Of course, this is a safety issue for climbers, especially climbers on the way back down. Holes can cause a foot to disappear through the roof, causing injury to the climber. One solution is to fill in the holes with a board as you climb over the shingles damaging them.
Step Eight: The Climbing
When you have the equipment in place, the right body positioning, and some knowledge and experience of climbing on lower gradients, you should be able to climb confidently on a 45-degree roof. Start with your arms and legs shoulder width apart, but as you climb, draw them in closer to a position that feels comfortable for the gradient. Climb carefully and don’t hurry.

