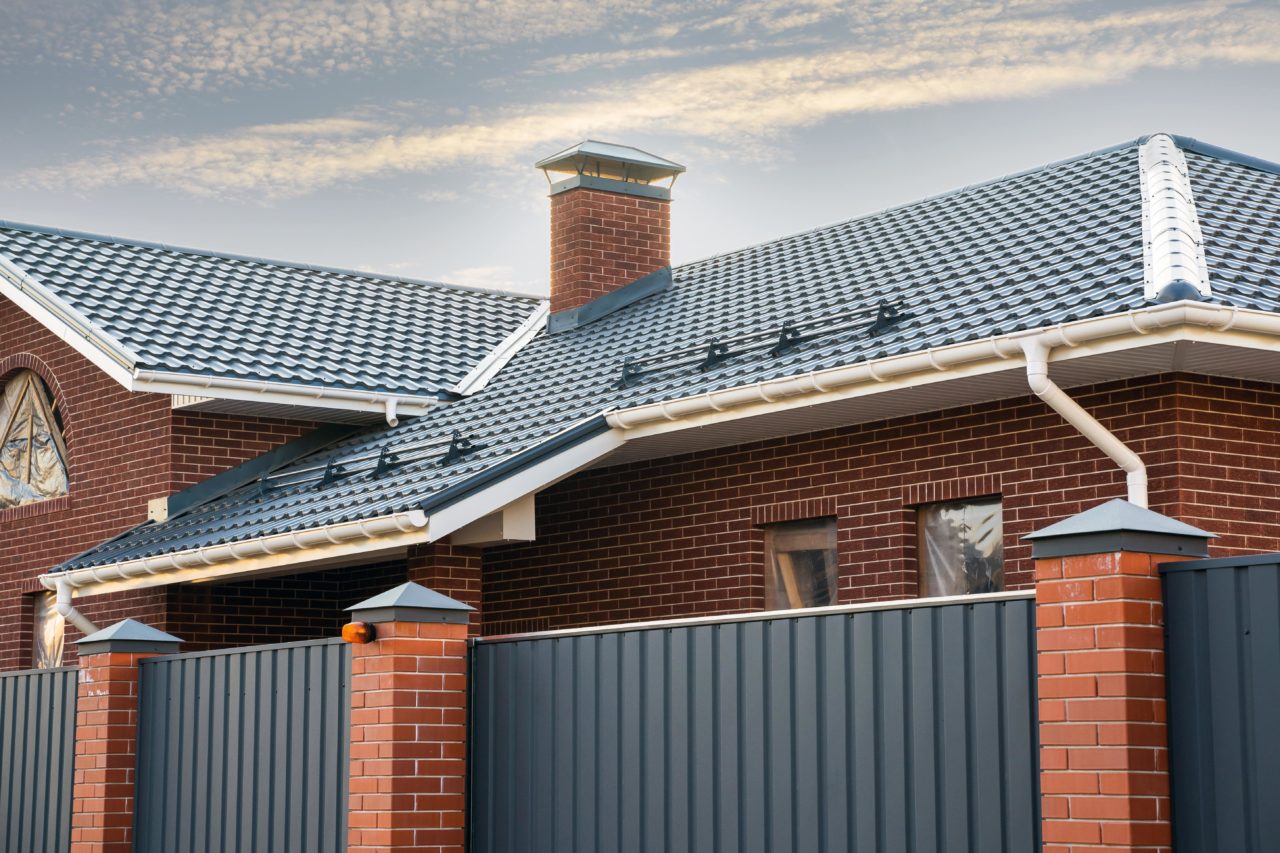
Installing metal roofing around a brick masonry chimney can seem daunting, but with the right tools and techniques, it can be accomplished relatively easily. In this article, we will walk you through the entire process step-by-step so you can feel confident in your ability to seal up that leaky chimney once and for all!
Prepping The Area
The first step is to clean the area around the chimney. This will ensure that the new roofing materials will have a good surface to adhere to. Use a wire brush to remove any loose mortar or debris from the bricks. If there are any cracks or gaps in the mortar, fill them in with caulk or mortar sealant. Remember to remove the shingles surrounding the chimney so you can access the flashing beneath them.
Doing The Installation
- Measure the area where the metal roofing will need to go and cut it to size using metal shears.
- Nail the metal roofing to the chimney to fit over the chimney cap.
- Make sure you use roofing cement on any seam or joints in the metal to create a watertight seal.
- Install a drip edge on the lower edge of the metal roofing to help direct water away from the chimney. Attach the ice and water shield to the lower edge of the drip edge.
- Caulk around the base of the chimney where the ice and water shield meets the shingles to create a watertight seal. Your new metal roofing should now be properly installed around your chimney!
Cleaning Up
Once you have finished caulking and sealing all the joints, take a step back and admire your work! Be sure to clean up any roofing nails or debris that may have fallen during the installation process. Now is also a good time to check the flashing around the chimney to ensure it is still in good condition. You should ensure that the ridge vent doesn’t obstruct your top cap. Finally, remember to replace any shingles you may have removed during installation. Apply a weatherproofing stain over your metal roofing to help it better withstand the elements.
Factors To Ensure All Joints Are Sealed Tight
High-quality building equipment is critical when caulking any joints in your roofing system. This will create a watertight seal and protect your home from the elements.
Furthermore, an inspection of joints and caulking should be done regularly to ensure that the sealant has not cracked or come loose.
Replacing any damaged or missing sealant is a simple process and well worth the time and effort to avoid costly repairs down the road.
Do The Water Test
After you’ve completed the installation of your new metal roof and sealed all joints, it’s important to test for leaks.
The best way to do this is by spraying water from a hose on different roof areas around the chimney.
If you see any water leaking into your home or attic, you’ll need to reseal the joints or replace any damaged flashing pieces.
These simple steps will ensure that you have a watertight seal around your chimney, preventing costly repairs down the road. If you’re in doubt, reach out to our team of specialists at RPS Metal Roofing for a free consultation. We would be happy to help you with any questions that you may have!

