Protecting and looking after your property in the best way you can is so important, and there are a lot of elements that you need to keep in mind when you’re looking to improve this. That means looking at some of the best ideas that you can use to make your property safer and more secure, and this is really important for helping you to enjoy your property more.
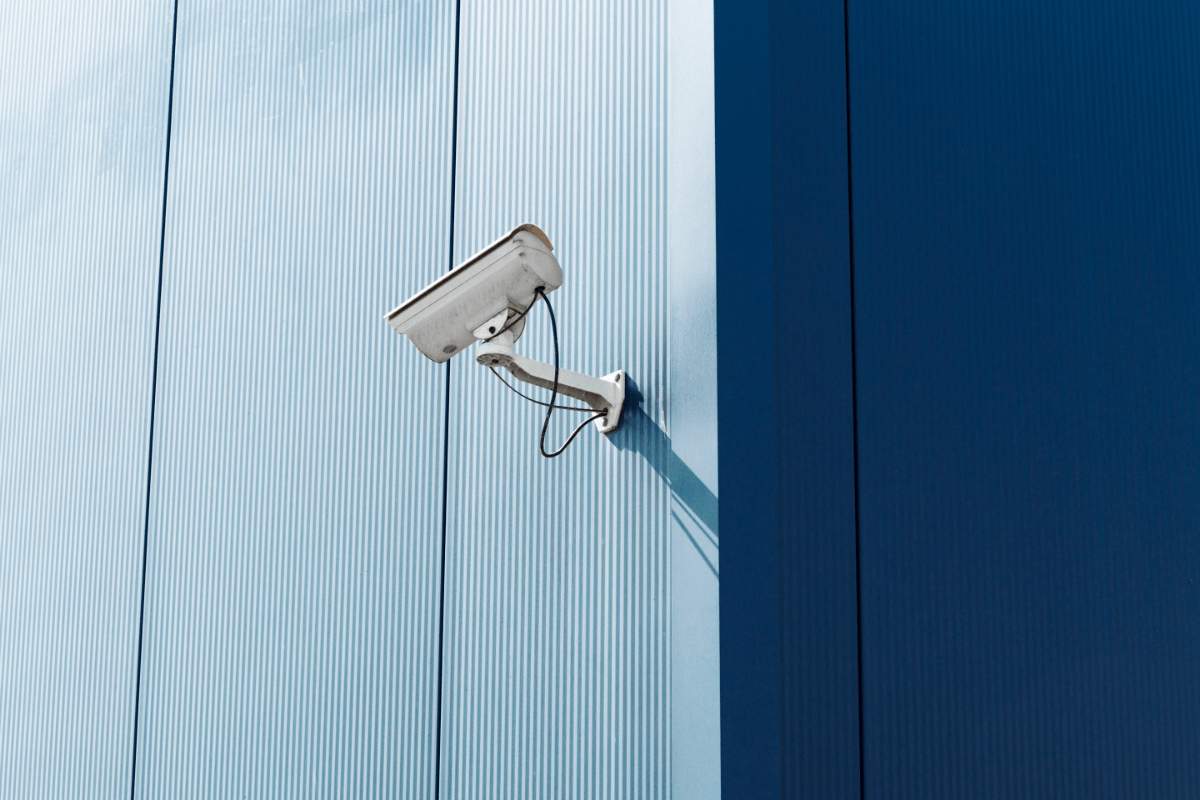
One of the best ways of ensuring you are able to provide a safer and more secure property is to install security cameras. There are plenty of options you need to consider with this, and it is important that you install them correctly in order to ensure that you get the most out of them. Here are some of the key steps involved in the process of installing security cameras on metal siding.
Make Sure You Have the Right Tools
Any time you work on improving your property and making an installation, it is important to ensure you have the right tools. This is why you have to make sure you choose the right tools to help you achieve this, and these include safety glasses, drill bits, a drill or impact driver, a screwdriver and a marker pen.
Choose Location
The next step in the process is to make sure you choose the location of the camera on your property. The location on which you will mount the camera is important, and should be used optimally as much as possible. This is something that you need to try to make the most of moving forward, and this is an important decision to make in the installation process.
Understand the Type of Siding
If you want to know all about how to install security cameras on siding, the best place to start is to understand the type of siding you are working with. There are two different types of siding you will be dealing with, and they are residential siding and commercial siding.
- Residential siding
This will have wood behind it, and you can drill a small hole in the siding and use a wood screw to attach your camera to the wooden siding.
- Commercial building
Commercial buildings will typically not have siding behind them, so you will want to use self tapping screws and make sure you don’t tighten them too much.
Prepare the Siding
Preparing the siding is a key part of this, and you need to try to look at some of the best ways of being able to achieve this right now. Make sure you drill a hole large enough to be able to feed through cabling, and to be able to reach inside of in the event that there is a problem. You need to make sure you check the siding to ensure there are no obstacles, or obstructions, as well as no dirt or debris that is likely to negatively impact the security camera installation process. This is a key element that you need to use to help you ensure you are able to get the best possible process from your installation.
Cabling & Connection
Now it’s time for the actual cabling and connection part of the process, and this is perhaps the most important bit. There are a lot of ideas that you need to try to make the most of moving forward, and this is something you have to try to get right as much as possible. Feed your cable through the hole you already drilled, and through the mounting plate, if you have one. Terminate the cable end and then connect it to the camera, if this is necessary. If you are using a mounting plate you will need to fasten the screws to keep the mounting plate or camera in place so it is safe and secure, and in full working order as well.
Test it Out
The final step in the process is testing out the camera to make sure it works properly and that there are no problems. Any issues you encounter need to be dealt with and addressed, so testing it out before proper use is an important way of revealing any problems that might be present.
These are some of the best things you can do to make sure you install the right CCTV and work on getting the right cameras installed onto your metal siding. This is something that you need to try to make the most of moving forward right now, and using these tips and ideas can help you considerably.

